


9 steps to using a breast pump

The first thoughts you may have after unboxing your breast pump are, ‘Uh, what attaches to what?’, ‘What goes where?’, and ‘How does this thang work?’ Breast pumps may look a little complicated at first glance, but with a review of the pump’s instructions and the steps outlined below, you can become a breast-pumping pro.
K, let’s do this.
Step 1: Read the instructions.
The actual steps to using a breast pump will differ based on whether you’re using an electric or manual breast pump, so always read the manual that comes with your pump before getting started. This may seem like an obvious first step, but if you’re like someone in the room (read: me), you may pick up an instruction manual and immediately put it down – ‘cos no way is it going to be thrilling reading.
But here’s the thing: Every pump is different and has different features. So, while we’ll provide you with some standard steps here, nothing will prepare you for using your specific pump like the manual that comes with it. So consider this your gentle reminder that this is one set of instructions you’ll need to read.
Step 2: Clean your hands and equipment.
Cleanliness is a necessary step regardless of the type of breast pump you’re using. Always wash your hands before you handle or use your pump! You’ll also need to clean and sterilize any components that will come into contact with you or your breast milk. Refer to your pump’s manual for tips on the best way to sterilize and clean your specific pump, ‘cos some parts may warp if exposed to high heat for too long.
Step 3: Find a relaxing, calming space and state of mind.
Ok, in our humble opinion, you deserve a spa-like environment every time you pump. But as moms ourselves, we know that’s not realistic. That said, the more relaxed you are while pumping, the more comfortable and productive your pumping session will be. So, do your best to find a quiet and private place to pump.
If you’re pumping in a small, makeshift room at work or other undesirable location, consider using music, an engulfing book or mag, or even just deep breathing to help put you into a calm mental state.
Before you begin pumping, find a position that is comfortable and supports you physically. And make sure you have milk storage bags, a cloth for any drips, and any necessary items that can keep the milk flowing and limit interruptions nearby.
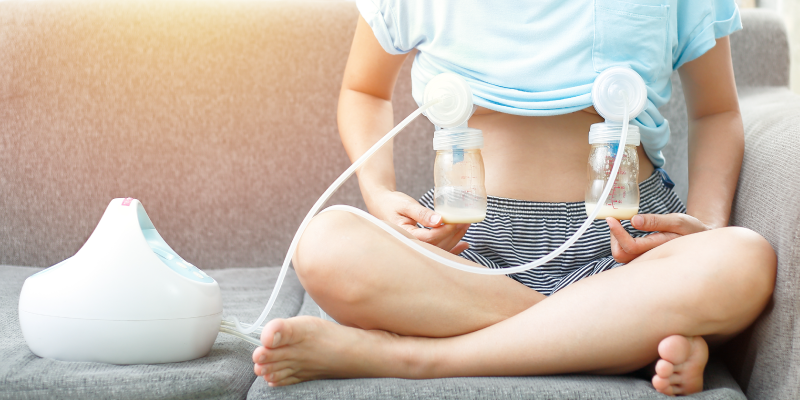
Step 4: Attach flange or breast shields, positioning the nipple at the center.
If you’re wearing a pumping bra, it should provide support to your breasts while pumping. If not, use your hands to support your breasts.
Have an electric pump? Attach the breast shields to one breast (or both of your breasts if using a double pump), making sure to align the nipple in the center. The positioning of the nipple is key to avoid discomfort.
Have a manual pump? Start with a gentle breast massage and hand express your milk before attaching the flange. Then, attach the flange, positioning the nipple in the center.
Step 5: Turn on the machine + make adjustments.
Now for the actual pumping.
Have an electric pump? Once your breast shields are attached, you’re ready to begin. Turn the machine on, and around the two-minute mark, milk should begin to flow. Some electric pumps will adjust the speed and suction automatically. Otherwise, make some adjustments yourself so you’re comfortable. You may feel pressure during pumping, but it should never be a painful process. Think about the rhythm of a baby’s sucking — you want your pump to mimic this as much as possible.
Have a manual pump? With a manual pump, you’re what makes the machine run. To begin pumping using a manual style pump, start hand pumping in a tempo that mimics your baby’s sucking. Continue the manual pumping, switching breasts when the flow appears to stop.
Step 6: Pump for around 10-20 minutes per breast.
So, how long should you pump? In general, you want to pump for between 10 and 20 minutes per breast. This will help ensure you get to the good, fatty hindmilk. You may want to stop midway to give the girls a break, and even a little massage. And if you’re manually pumping, your hands may need a rest here and there. As you pump, always pay attention to your body.
Step 7: Stop pumping.
If you’re using an electric pump, you’ll want to turn it off about a minute or two after the milk flow has stopped. If you’re using a manual pump, you’ll also want to stop pumping when it seems that you’re no longer getting a flow of milk. Pay attention to your body.
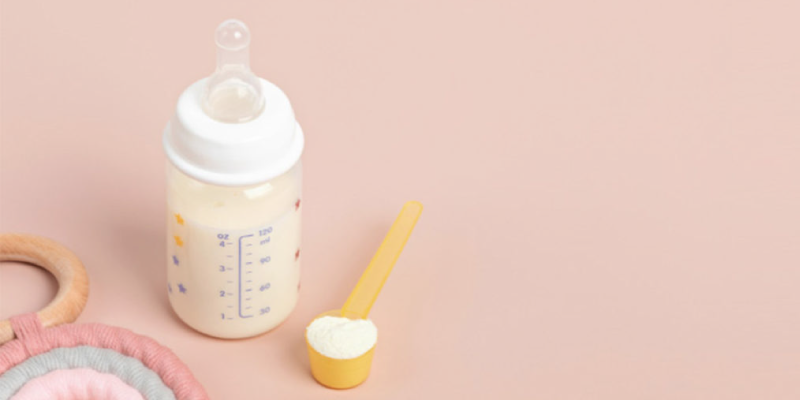
Step 8: Detach and store milk right away.
Remove the flanges or breast shields and store the milk right away in a refrigerator or freezer unit.
Step 9: Clean the equipment.
Now that you’re done pumping, you’ll need to clean all parts of the equipment, especially those that came into contact with the milk or your body. We’ve summarized the CDC’s guidelines around breast pump cleaning for you right here.
There you have it – your quick 9 step guide to pumping. Don’t worry if it feels a bit overwhelming or confusing at first. After a few rounds of pumping, you’ll become a pro and the whole process will become second nature. Trust us.